
PixelMark is a screen ruler for the Mac. Press ⇧⌘2 and point at anything: lines run from the pointer to the nearest edge in each direction, labeled with the width and height between them. Drag a box around an element and it shrinks to fit the content inside. It reads pixels rather than layout, so it works on apps, websites, design files, images and video alike.
It’s free and open source under the MIT license, and it was inspired by PixelSnap. It needs macOS 26 Tahoe or later, runs on Apple silicon and Intel, and releases are signed with a Developer ID and notarized by Apple. PixelMark has no network access, analytics or account. Each time you start measuring, it takes one still image of each display and discards it when you finish. Versions 1.0 through 1.2.1 all came out on the day the repository was created, and 1.2 added fourteen measuring tools.
Measuring
- Hover to measure. Lines run from the pointer to the nearest edge in each direction, labeled with the width and height.
- Boxes that snap. Drag around anything and the box shrinks to fit the content. Hold ⇧ for a free box. Aspect ratios (A) and positions (P) can be shown, and boxes of the same size get an = mark.
- Spacing and padding. Hold ⌥ over a box to see the gaps to its neighbors, or ⌃ to see the padding around the content inside it. Aligned boxes get alignment lines.
- Point to point. ⌘-drag measures the distance and angle between two points, with ⇧ for 45° steps.
- Guides, rulers and grid. H or V drops a guide (⇧ puts it through the middle of a box), R adds rulers along the screen edges, and G lays an 8 pt grid that starts at the hovered box.
- Loupe and colors. A magnified view of the pixels under the pointer, which Z zooms. C copies the color as hex, RGB, HSL or SwiftUI, and K checks the WCAG contrast between two colors.
- Copy and save. ⌘C copies a size as
320 × 48,320x48, CSS or a SwiftUI.frame, and ⌥⌘C copies every measurement as a list. ⌘S saves and copies a screenshot with every measurement on it, and ⇧⌘S crops it to the measured area. - The rest. Points or pixels (U), an adjustable edge tolerance ([ and ]), undo and redo for marks, a choice of mark color, and every connected display. Press ? to see every shortcut on screen, and Esc when you’re done.
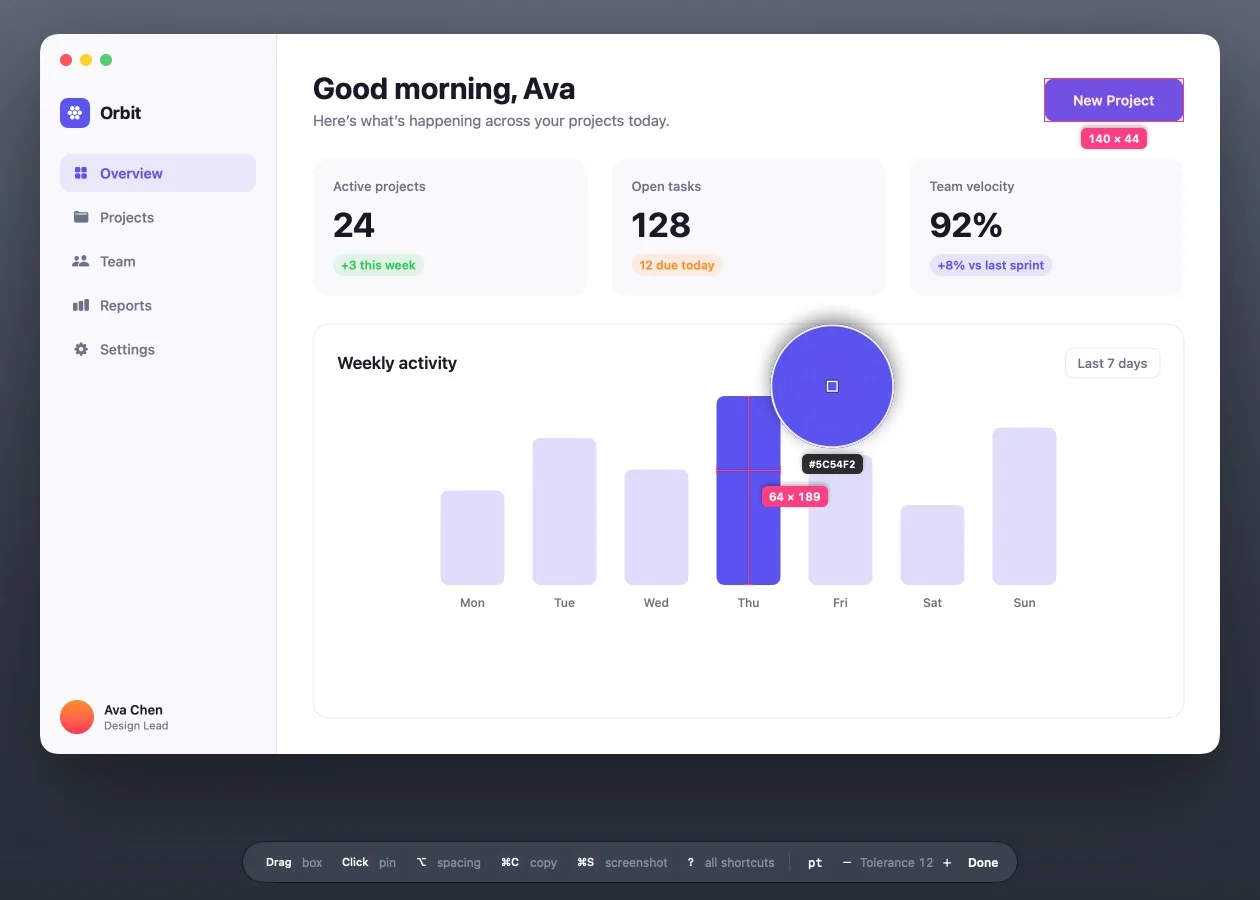
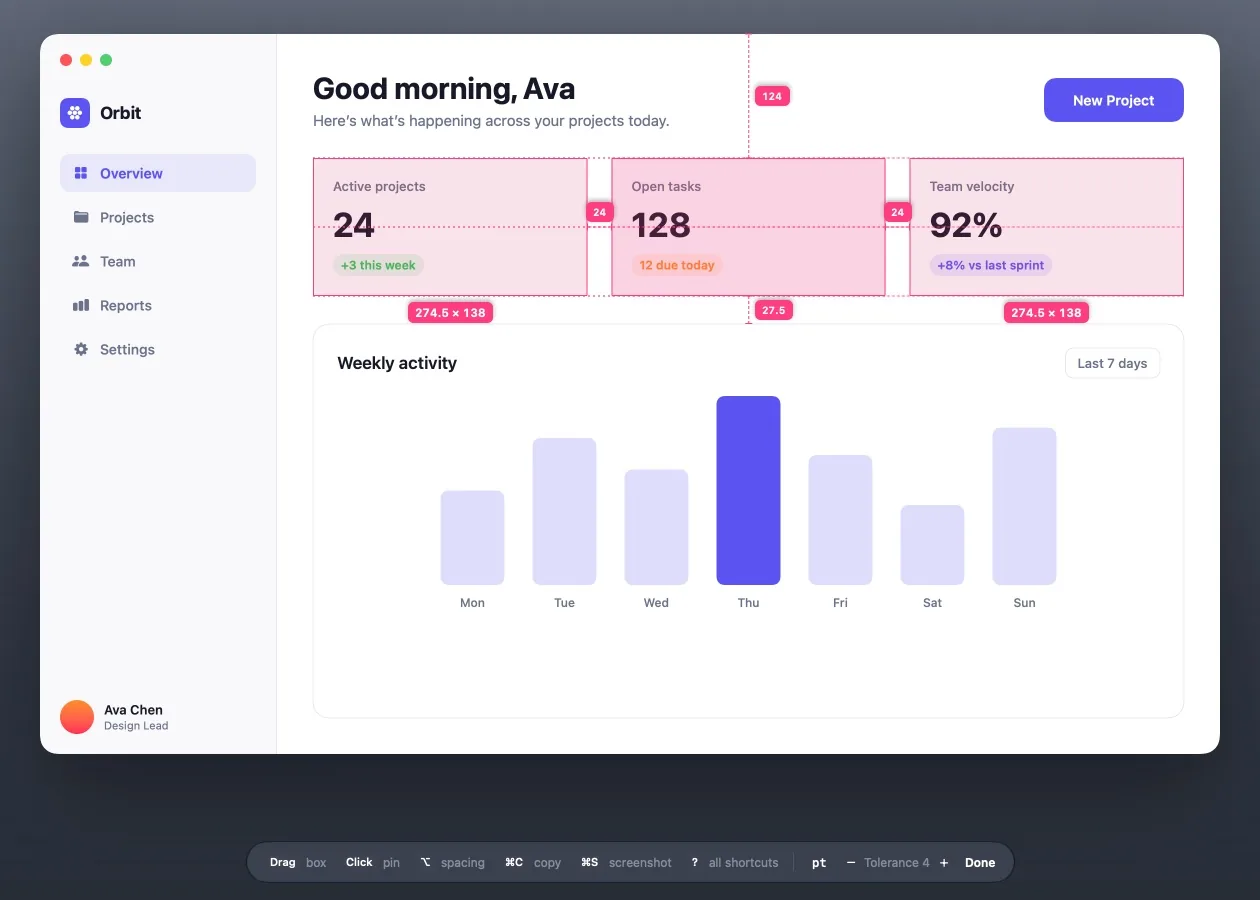
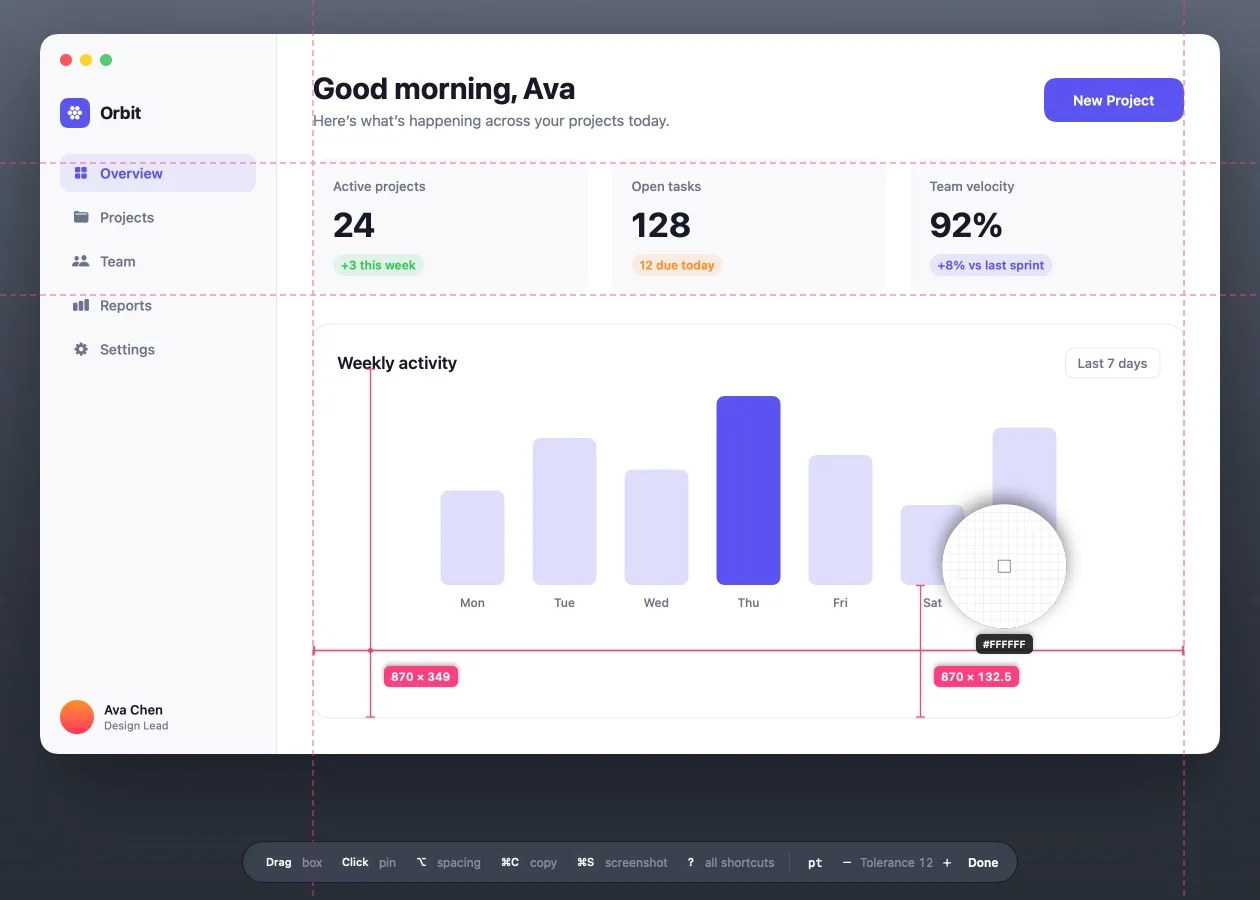
These screenshots come from the PixelMark website. A debug build runs the overlay over a mock desktop that a repository script renders, and a scripted harness drives it, so the dashboard is sample content.
In a browser
The website has a small version you can try without installing anything. It measures the page’s own elements rather than pixels: hover for sizes, drag a box around something, or click to pin a measurement.

How it works
Measuring starts with one ScreenCaptureKit image per display, frozen as an RGBA buffer. From the pixel under the pointer, PixelMark walks outward in each direction until a pixel differs from the starting color by more than the tolerance in any channel. The default tolerance is 12. Pressing ] raises it so subtle shadows and gradients are ignored, and [ lowers it so a faint 1 px border counts.

PixelBuffer.swift.Snapping a box uses the same buffer. It takes the most common corner color as the background and shrinks the box to the tightest rectangle around anything that differs from it. Padding works from the inside: the box is inset past its border and rounded corners, the fill is sampled from the middle of each edge, and what’s left is the content, such as a button’s label. Fifteen unit tests cover the edge search, tolerance, content bounds, contrast ratios, aspect ratios, line angles and the copy formats.
How it’s built
PixelMark is about 4,000 lines of Swift. The measuring overlay is drawn with AppKit, and the helper bar, toasts and shortcut sheet floating over it are SwiftUI with Liquid Glass. The global shortcut is registered through Carbon’s hot key API, and the app lives in the menu bar.
The Xcode project is generated with XcodeGen, and the icon is made with Icon Composer. A release script runs the tests, archives the app, signs it with a Developer ID, notarizes and staples it, and builds the DMG with dmgbuild; ./Scripts/release.sh publish also tags the version and creates the GitHub release. Debug builds can drive the overlay from a script for screenshots without covering your screen, and record-demo.sh uses the same harness to record the feature tour, which FFmpeg encodes for the website. The website is a single HTML page on GitHub Pages.
Chroma, a color picker whose repository was created the same day, shares this structure, down to an identical release script.
Try it
Download PixelMark.dmg and drag PixelMark to Applications. It needs macOS 26 Tahoe or later, and it asks for Screen Recording permission because it has to read the pixels on screen. To build it, install XcodeGen with brew install xcodegen, run xcodegen generate, and open PixelMark.xcodeproj in Xcode 26 or later. The website has the tour, the browser demo and an FAQ, and the README lists every shortcut.
The creation date shown here is the GitHub repository’s UTC creation date. The banner, screenshots and video on this page come from the project’s repository and website, the browser demo was captured from the live website, and the code excerpt is from PixelBuffer.swift.